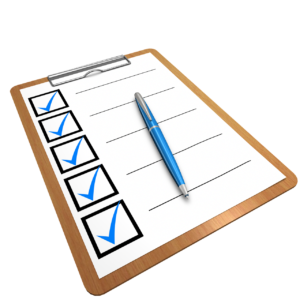
 Have you completed the steps I’ve outlined in the last four blog posts?
1) Picked your official author name and purchased the domain?
2) Decided on your internet service provider and webhosting, and ready to install WordPress?
3) Put together a list of your design preferences?
4) Prepared the text and images for the pages on your new site?
If so, then it’s time to install WordPress.org.
Login to your webhosting service provider and follow their instructions for the installation of the WordPress software platform. For most webshosting companies it is a one-click installation. WordPress recommends BlueHost as a webhosting company for their easy one-click version.

Be aware when using one-click installations: you may experience attempts to attach a lot of bloatware, or unnecessary third-party programs, to your installation. You do not need to install Jetpack or Mojo Marketplace.
Depending on your webhosting company, the instructions for installation of this free open-source code software varies. You should not have to pay any additional charge to your webhosting company for this program. Read what you are doing, pay attention, and look for any check boxes that are automatically clicked before you hit install. The only program you want to install is WordPress.
WordPress’ tutorials offer a quick and efficient way to set up a basic design and utilize important features by familiarizing you, the new user, with dashboard commands and operations. We recommend that you follow the tutorials before installing the software.
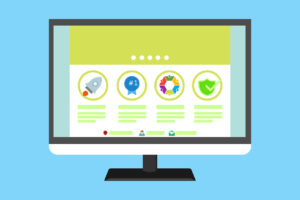
 Once you’ve familiarized yourself with WordPress for Beginners and Designing Your WordPress site, you’re ready to install a theme. You can waste a lot of time and energy looking for a theme that suits you. I’m going to save you a lot of time and trouble by telling you there is one template that best serves the needs of authors because it has maximum customizability and that means it can look like anything you want it to look like. Twenty Seventeen.
What makes Twenty Seventeen a good theme for an author website is white background with black text and the widgets and plugins easily installed without requiring a code specialist. If you’re going to DIY, then trust me on this. And if I have already lost you, then now would be the time to contact a website designer to build you a site that you can manage and administer.
The best theme for an author site is Twenty Seventeen. It bears repeating. Since 2012 when their most robust theme was Twenty Twelve, WordPress has offered an annual theme that has become almost the industry standard for authors and writers who administer and manage their own websites.
 Ready to install the theme of Twenty Seventeen?
Click on Appearance in the left navigation bar under word Dashboard you see in the upper left hand corner. When you click on Appearance you will get a drop-down menu and select Themes.
At the top of the Themes page, there are two tabs beneath the WordPress icon and the name of your site. One says Manage Themes and the other says Install Themes. Click on Install Themes.
You will see a search bar where you can type in Twenty Seventeen. Or you will see it below.
Click on the Install link beneath the theme name.
Once you have installed the theme, click on the Appearance button on the left sidebar. Make sure the theme you installed is the current theme.
To edit your theme and customize colors, background images, widgets, and more, click on any of these items that drop down as menu to the Options, beneath the theme description. You can also customize theme appearance through the sub-menu on the left sidebar (beneath Appearance).
You must click the Activate button to make it your new Current Theme. You can always change your mind after activating a theme; simply click on another theme to disable the undesired theme.
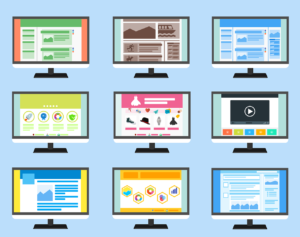
 A word on Premium Themes: many of them seem like perfect fits for new authors. Although it may seem like a Premium Theme might be easier to use than a free one, most have restrictions placed on them by the developer and are intended to be used by website developers instead of novices. Save your money if you’re going to DIY. If you want a Premium Theme, and this is the first time you’ve tried to build a website, then I recommend hiring a professional developer as it will be less expensive in the long run if your time has any value at all. Remember time you spend on a DIY website is time not spent on writing.
The incredible variety of options in aesthetic layout and design should not overwhelm you. Use a white background, a serif font that looks like the text of a book, and black text to keep things easy on your readers’ eyes. Make sure the size of the font is big enough to read on the screen at various screen sizes. Personal photos will add a splash of color, but if you need more, we advise using subtle colors to frame boxes and add depth.
Once you have installed a WordPress theme, you will want to choose which widgets will appear on your pages and activate them. The Widgets are found on the left navigation bar under the Appearances tab. We recommend you consider the following widgets:
 Google Analytics Dashboard
- Askimet Anti-Spam
- Search
- Archive
- Email Subscription
- RSS [Really Simple Syndication]
- Recent Posts
- Events Calendar
- Recent Tweets
- Comments
- Contact Form
To install and activate a widget, drag it to the right and drop it into the location in your theme. To deactivate a widget and delete its settings, drag it back to the left.
Plug-Ins is the navigation bar tab underneath Appearances and will be the next step in customizing the functionality of your site.
Some of the widgets you installed may need to be activated as plug-ins. Plug-ins are those connections between your website and other places on the internet. For example, plug-ins for social media sharing buttons and Facebook Open Graph.
Now you’re ready to build your Pages. In the left navigation bar above Appearance you will see Pages. Go ahead and start with the Welcome or Home Page by ![]() clicking on the button Add New.
clicking on the button Add New.
Congratulations! You’ve done more than install WordPress, you’ve started building your new website. Next week, we’ll take a look at how to put the Pages into order and constructing a navigation bar to match. Get ready to start blogging before the end of the month with your new website.